CaseViewNet Cloud Gateway is a Windows app that allows reporters to send the realtime feed to clients using the CaseViewNet Windows App, iCVNet, or CaseViewNet Browser. Clients can be on or off site. As long as you and the clients have an internet connection, they can receive the realtime feed.
Cloud Gateway works with CATalyst and other CAT systems by using a virtual serial port to send the feed via CaseViewNet Cloud. The clients uses CaseViewNet Windows, iCVNet, or CaseViewNet Browser to connect to the Cloud and receive the feed.
The reporter does need to purchase a Session Code which can be purchased on our website or by giving us a call.
If you use CATalyst and have both a CaseViewNet License and Session Code, you can use the Session Code from inside CATalyst. Our article about Starting a CaseViewNet Cloud Session will show you how.
NOTE: If you are using CaseViewNet Cloud Gateway with Stenograph Bluetooth for the Luminex & Luminex II, you will need to install Gateway first then Stenograph Bluetooth, otherwise you will receive a COM port error when using Cloud Gateway.
Installing CaseViewNet Cloud Gateway
The CaseViewNet Cloud Gateway program is installed on the same computer as your CAT software.
Download CaseViewNet Cloud Gateway.
Navigate to where Gateway Setup.exe was saved (usually the Downloads or Desktop folders) and double click on it. Depending on your Windows settings, the Open File – Security Warning dialog box may display. Click Run to continue.
-
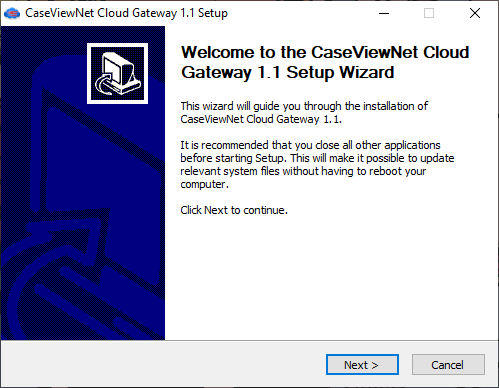
At the Welcome screen, press click Next.
-
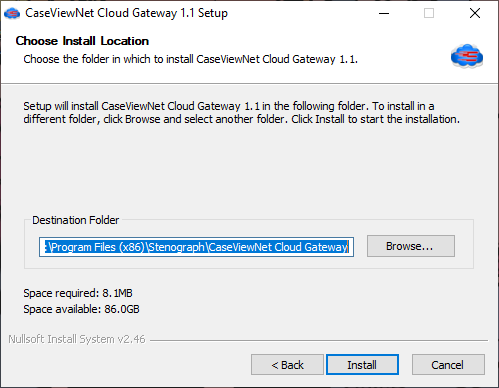
At the Choose Install Location screen, click Install.
-
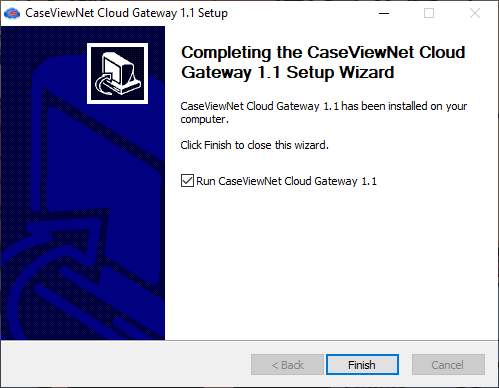
At the Finish screen, click Finish.
Using Cloud Gateway
Make sure your CAT system’s PC has a working Internet connection.
-
Double click the CaseViewNet Cloud Gateway icon on your Desktop.

-
The CaseViewNet Cloud Gateway dialog box displays.
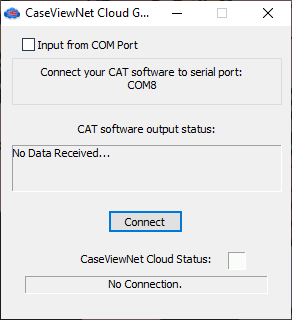
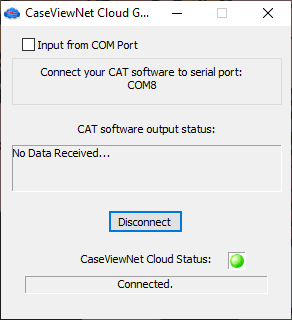
At the top of the dialog box, make sure Input from COM Port is unchecked. Also make a note of what COM Port is shown in the Connect your CAT software to serial port: COM X. You will need that COM Port number for your CAT software.
-
Click the Connect button. The Session Code & Password dialog box displays.
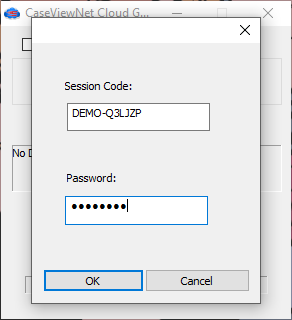
Type your Session Code and create a password. The password can be as simple (1234) or complex (Simone40caseview) as you'd like. The connecting clients will need this password to receive the realtime feed. Click OK.
-
The Session Code & Password dialog box closes and returns to the previous dialog box. The CAT software output status: section will say No Data Received... This will change once you start a realtime file.
You will also notice the Connect button has changed to Disconnect and the CaseViewNet Cloud Status: has a green dot along with the word Connected below. You can minimize the window.
-
Open your CAT system and elect the appropriate options to output to CaseView. Be sure to use the same COM port specified in the CaseViewNet Cloud Gateway dialog box as the COM port you are outputting via CaseView.
Now start a new realtime session.
Share your Session Code and password with the clients who will be connecting to this realtime session using either CaseViewNet, iCVNet or CaseViewNet Browser.
Continue writing realtime. The CaseViewNet Cloud Gateway dialog box displays a few lines of the realtime data as you write.
-
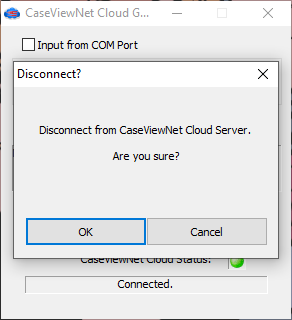
When the realtime session is complete, be sure to end the CaseViewNet Cloud session by clicking the Disconnect button. At the Are you sure? dialog box, click OK.
Things to know:
The next time you start CaseViewNet Cloud Gateway, the Session Code and password is remembered so you can click Connect followed by OK.
If you disconnect from CaseViewNet Cloud Gateway and then reconnect, the clients will need to start a new file.
Only the last 5 lines of realtime will refresh with editing changes if your CAT vendor chooses to support the feature
Recipients will always be allowed to save the transcript